Adding a new Sensor Module to a CLAID package
In this tutorial, we will show you how you can add a new Sensor Module to your new CLAID package. To include a new Sensor Module, the following steps are required:
- Creating a class for the Module.
- Registering the Module to CLAID.
- Declaring and requesting permissions (if required).
- Creating a new data type.
- Gathering and publishing sensor data.
In this example, we will create a new Sensor Module to track the user location via GPS. The location sensor was chosen, as it is a simple intuitive sensor, but also requires the user to grant the required permissions. This allows to demonstrate how data can be gathered and how permissions are handled from within a CLAID Module.
Prerequisites
We assume that you have already created a new CLAID package following the previous tutorial.
Additionally, we assume that you are familiar with the concept of CLAID Channels. If not, check out the tutorials on data collection
1. Creating a class for the new LocationSensorModule
If you are used to developing code for Android with Android Studio, you can continue to do so for CLAID packages as well. To add a new Module to your CLAID package, simply open the packaging/android/claid_package folder inside Android Studio and add a new class. Under Android, we typically implement native Modules using Java.
Adding a new Java class for the Module
Follow the steps below, mind the tabs for the 3 steps!
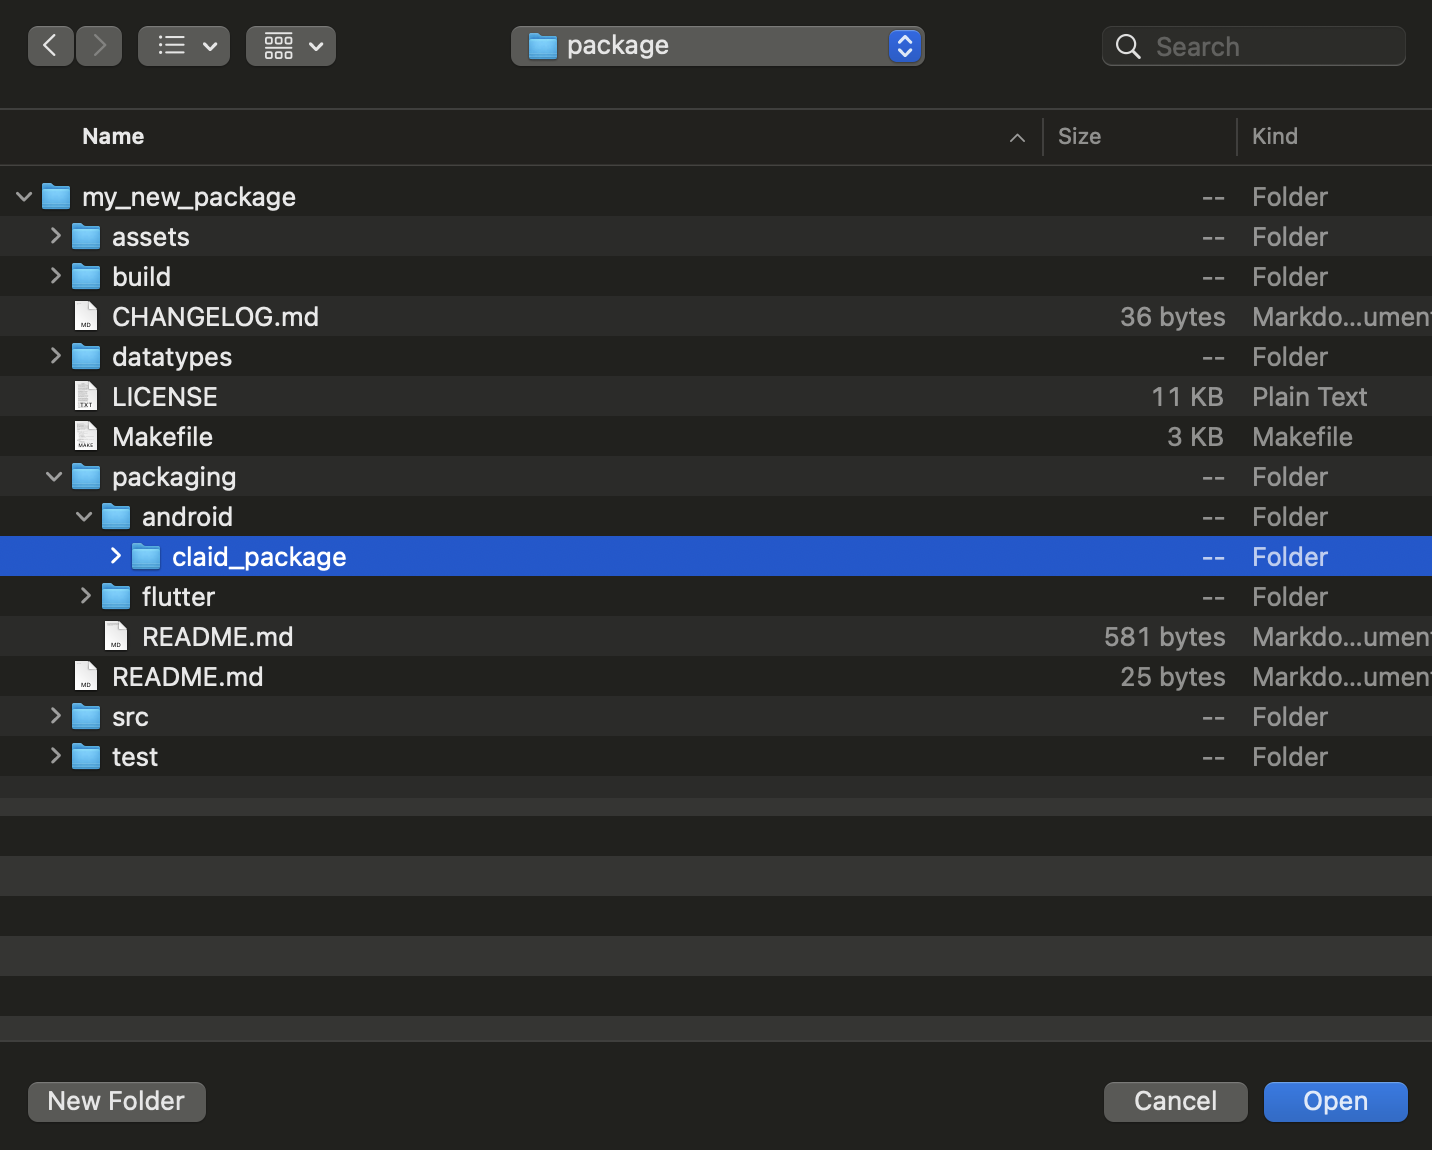
From Android Studio, click File->open and then select the folder "packaging/android/claid_package" from your CLAID package:
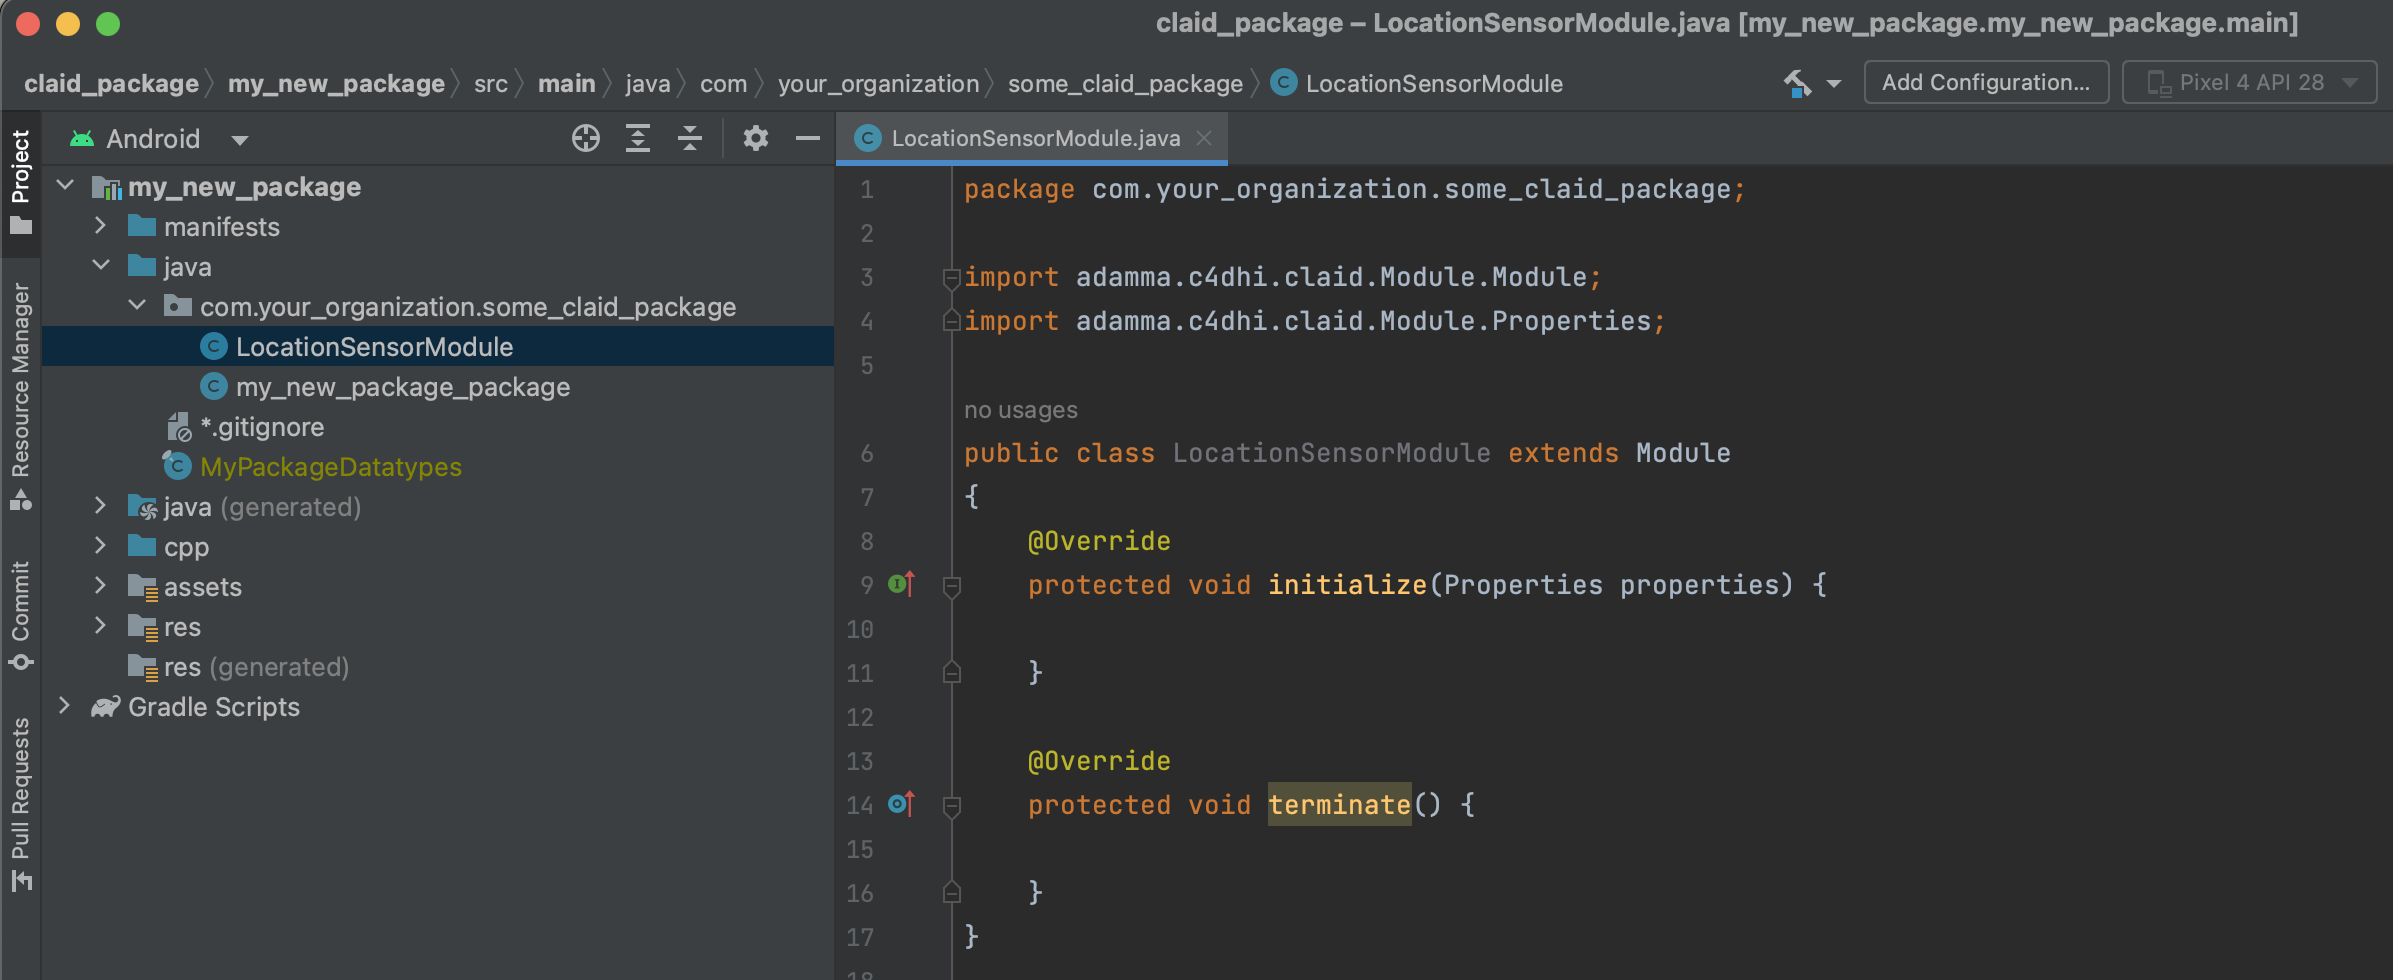
Next, create a new class called "LocationSensorModule" inside your package:

Open the newly created class and add the following code. This code shows the basic set up of a new CLAID Module (a class inheriting from CLAID.Module). When loading a CLAID Module (e.g., when it is specified in a CLAID config file), the "initialize" function will be called.:
// Adjust this to your package namespace and package name.
package com.your_organization.some_claid_package;

import adamma.c4dhi.claid.Module.Module;
import adamma.c4dhi.claid.Module.Properties;

// Our new LocationSensorModule inherits from CLAID.Module
public class LocationSensorModule extends Module
{

    @Override
    protected void initialize(Properties properties) {
        // This function is called when the Module is loaded in an App.
    }

    @Override
    protected void terminate() {
        // This function is called when the Module is terminated.
    }
}
In Android Studio, it should look as follows:
2. Registering the Module to CLAID
To be able to load our Module from a configuration file, we need to register it to CLAID, so that CLAID knows our new Module exists. Modules are typically registered when a package is loaded. Check out the code below to register the Module to CLAID when our package is loaded.
Editing the package definition
From Android Studio, open the file "my_new_package" (will be called differently according to your package name). It should be available in the same folder where you created the "LocationSensorModule":
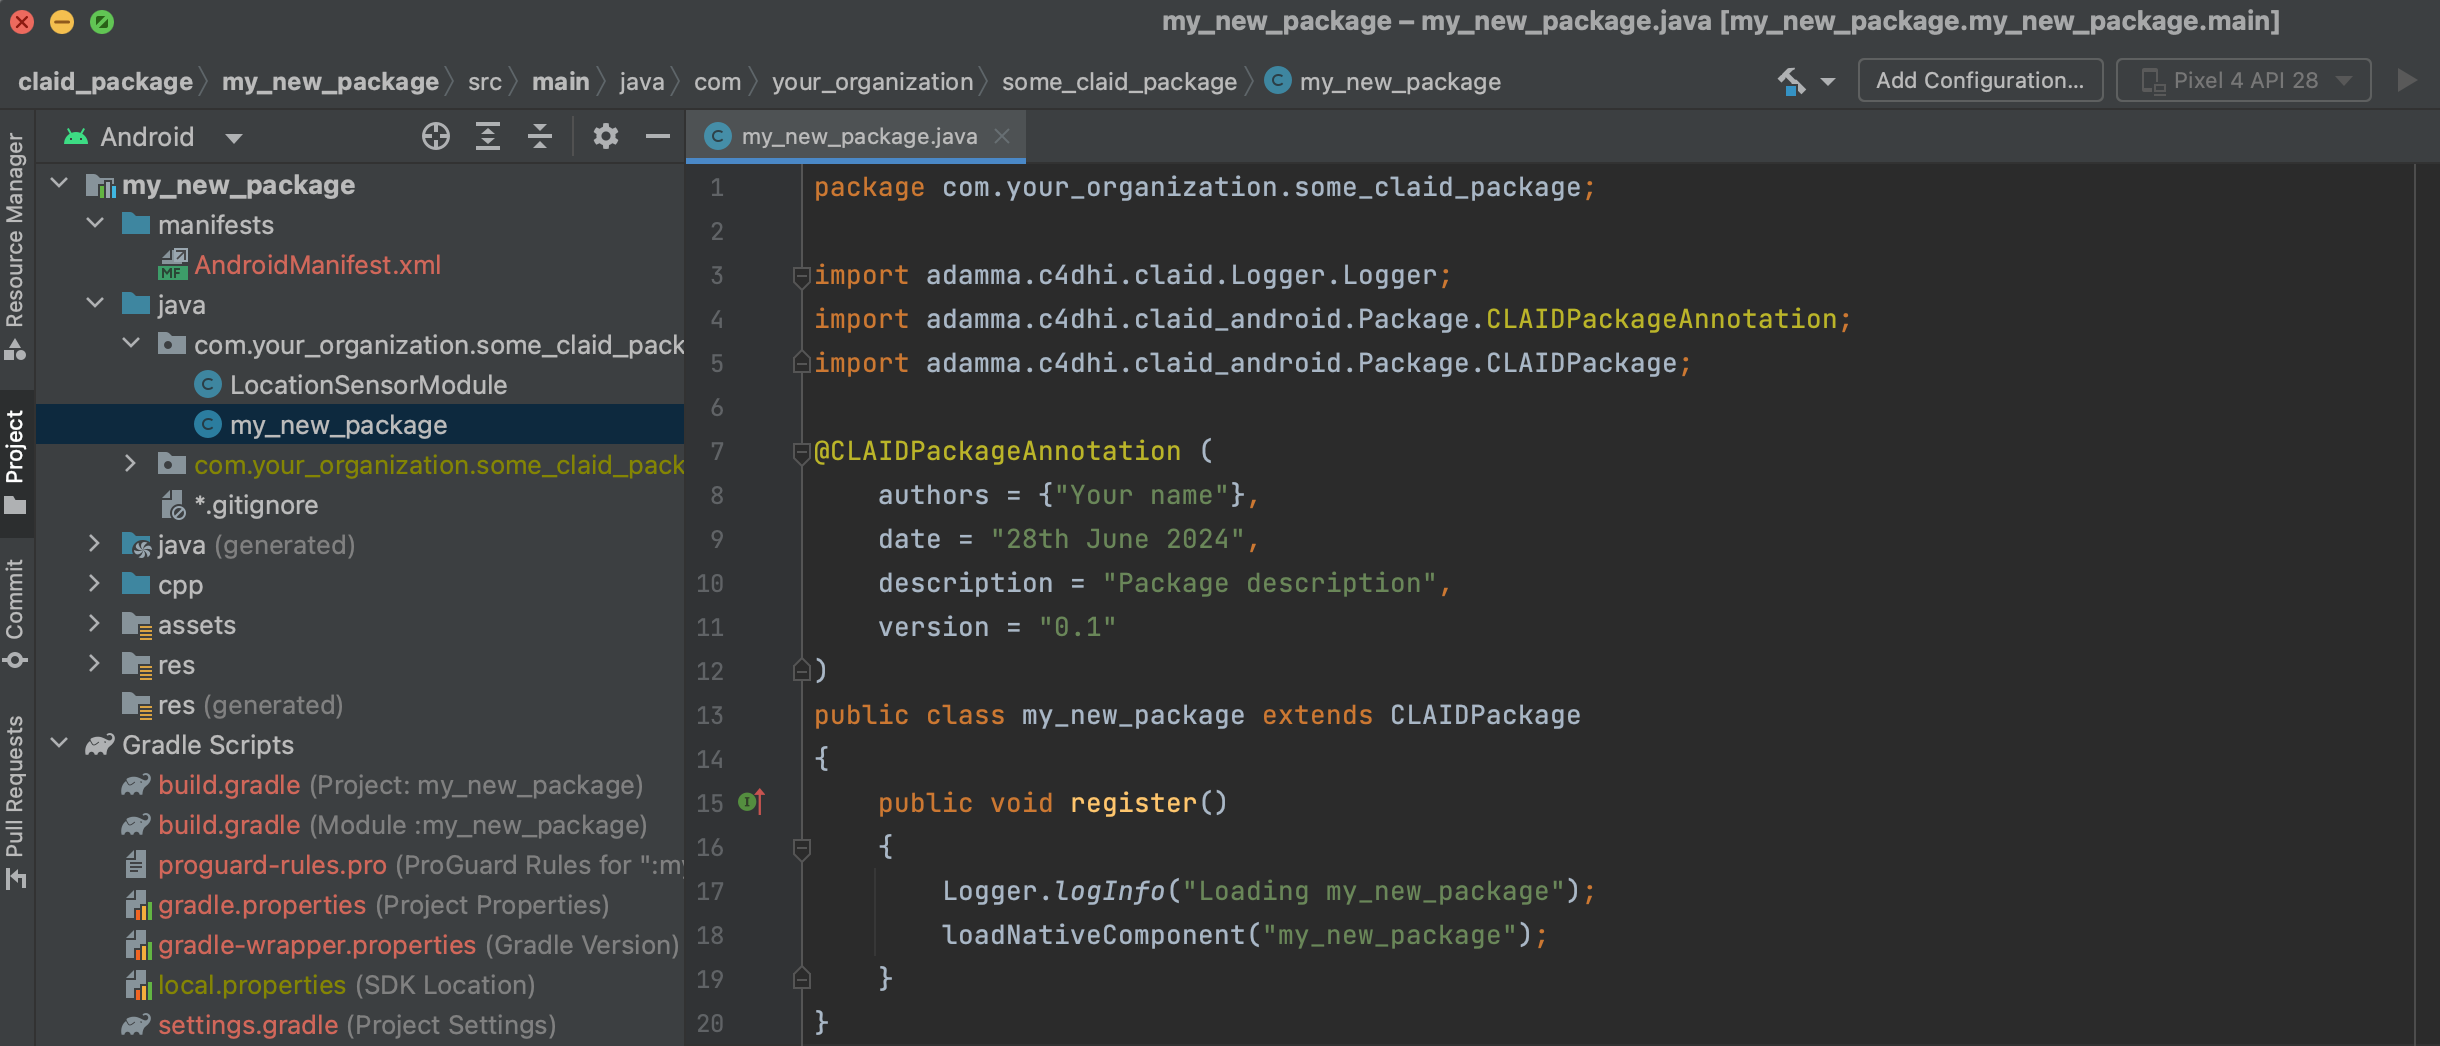
Once you opened the file, mind the two important parts:
- CLAIDPackageAnnotation: This describes the package. We recommend that you add the author names and a description for the package.
- The register function: This function is called once the package is loaded by CLAID. Here is where we can register Modules.
To add the Module, add the following statement to the register() function:
Your code should look as follows:
@CLAIDPackageAnnotation (
    authors = {"Your name"}, // Add your name
    date = "28th June 2024",
    description = "Package description", // Add your package description
    version = "0.1" // Add the version
)
public class my_new_package extends CLAIDPackage
{
    public void register()
    {
        Logger.logInfo("Loading my_new_package");

        // Add this line to register your Module to CLAID!
        // Add this for each Module that you create.
        CLAID.registerModule(LocationSensorModule.class);

        loadNativeComponent("my_new_package");
    }
}
3. Requesting permissions
The LocationSensorModule requires permissions in order to access the location sensors. Requesting permissions for a CLAID package is similiar as in regular Android applications or packages. Check out the instructions below:
Requesting permissions
If your new SensorModule needs permissions, you have to declare them properly in the AndroidManifest file and request the user to grant the permissions at startup of your application. Mind the tabs below for the separate steps!
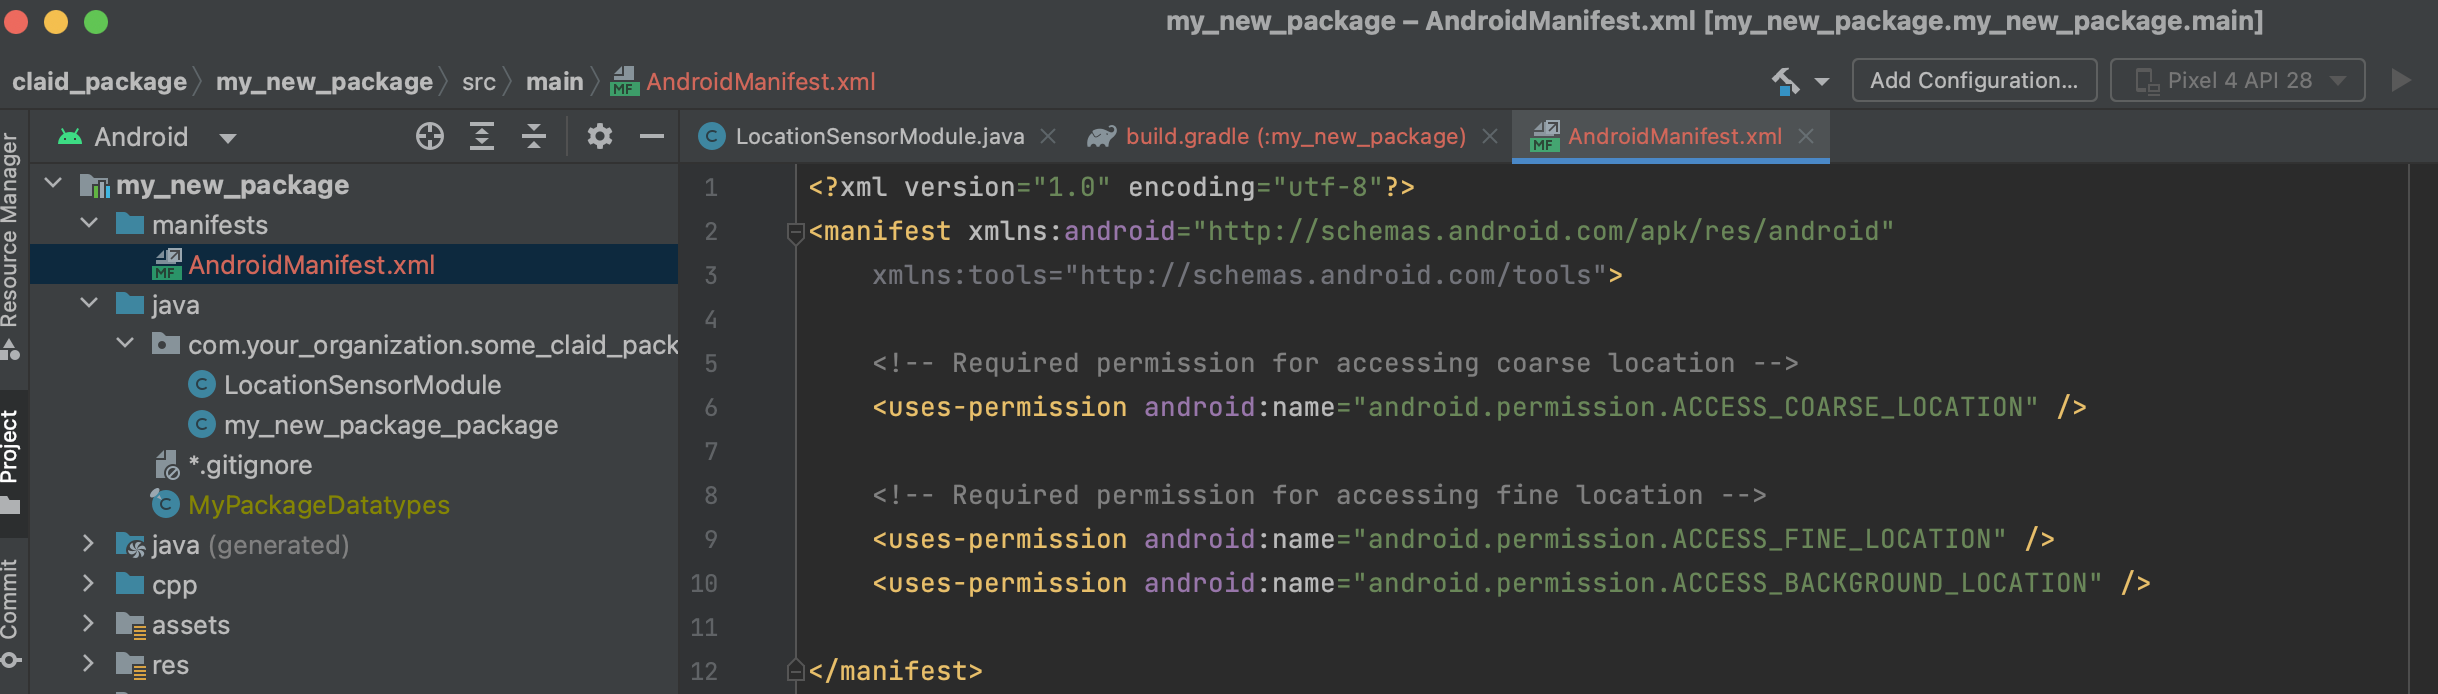
As usual with Android applications, you have to declare any permissions that your app or package might use in the AndroidManifest.xml file. For the location sensors, we need to add the following to our AndroidManifest.xml file:
<manifest>
    ...
    <uses-permission android:name="android.permission.ACCESS_COARSE_LOCATION" />
    <uses-permission android:name="android.permission.ACCESS_FINE_LOCATION" />

    <!-- Required to use the location sensor from the background -->
    <uses-permission android:name="android.permission.ACCESS_BACKGROUND_LOCATION" />
    ...
</manifest>
Next to declaring the permission, we also need to request the user to grant them at runtime. From within a CLAID Module, you can use the function "CLAID.requestPermissions(...)", which takes in a list of permissions to request as well as text for a dialog to display.
The function is synchronous, which means you you will know whether the user has granted or denied the permissions immediately after the function returns.
If the user denies the permissions, you can display an error using CLAID.displayAlertDialog(...). If your Module can't work without the permission, you can use moduleFatal(...) to throw an exception and terminate the App.
Check out the code below:
// Adjust this to your package namespace and package name.
package com.your_organization.some_claid_package;

import android.Manifest;

import adamma.c4dhi.claid.Module.Module;
import adamma.c4dhi.claid.Module.Properties;
import adamma.c4dhi.claid_platform_impl.CLAID;

// Our new LocationSensorModule inherits from CLAID.Module
public class LocationSensorModule extends Module
{
    @Override
    protected void initialize(Properties properties)
    {
        // This function is called when the Module is loaded in an App.
        // Blocks further execution until the user has granted or denied the permissions.
        if(!CLAID.requestPermissionsSequential(
                new String[]{Manifest.permission.ACCESS_COARSE_LOCATION,
                        Manifest.permission.ACCESS_FINE_LOCATION,
                        Manifest.permission.ACCESS_BACKGROUND_LOCATION},
                "This App requires permissions to use location sensors."))
        {
            CLAID.displayAlertDialog("Missing permissions", "\"Cannot use LocationSensorModule! Permissions denied\"");
            // Will terminate the App and throw an exception.
            moduleFatal("Unable to continue, location permissions denied!");
        }
    }

    ...
}
4. Adding a new data type
To exchange data between multiple Modules or between a Module and the User Interface (UI), we require to pass around data types, typically via Channels. Since we might send data across multiple programming languages, we need to define platform independent data types, for which we are using Protobuf. You can define new data types in your package, which can then be used by other CLAID Modules. In this example, we define a new LocationSensorData datatype, which we use to store the location date gathered by our LocationSensorModule. Check out the instructions below:
Adding a new data type to your package.
We will add a new LocationSensorData type to our package. Data types in CLAID packages are defined in .proto files inside the datatypes folder. To add a new datatype, we open the proto file inside the datatypes folder of our package, and edit it. Check out hte instructions below, mind the tabs for the separate steps!
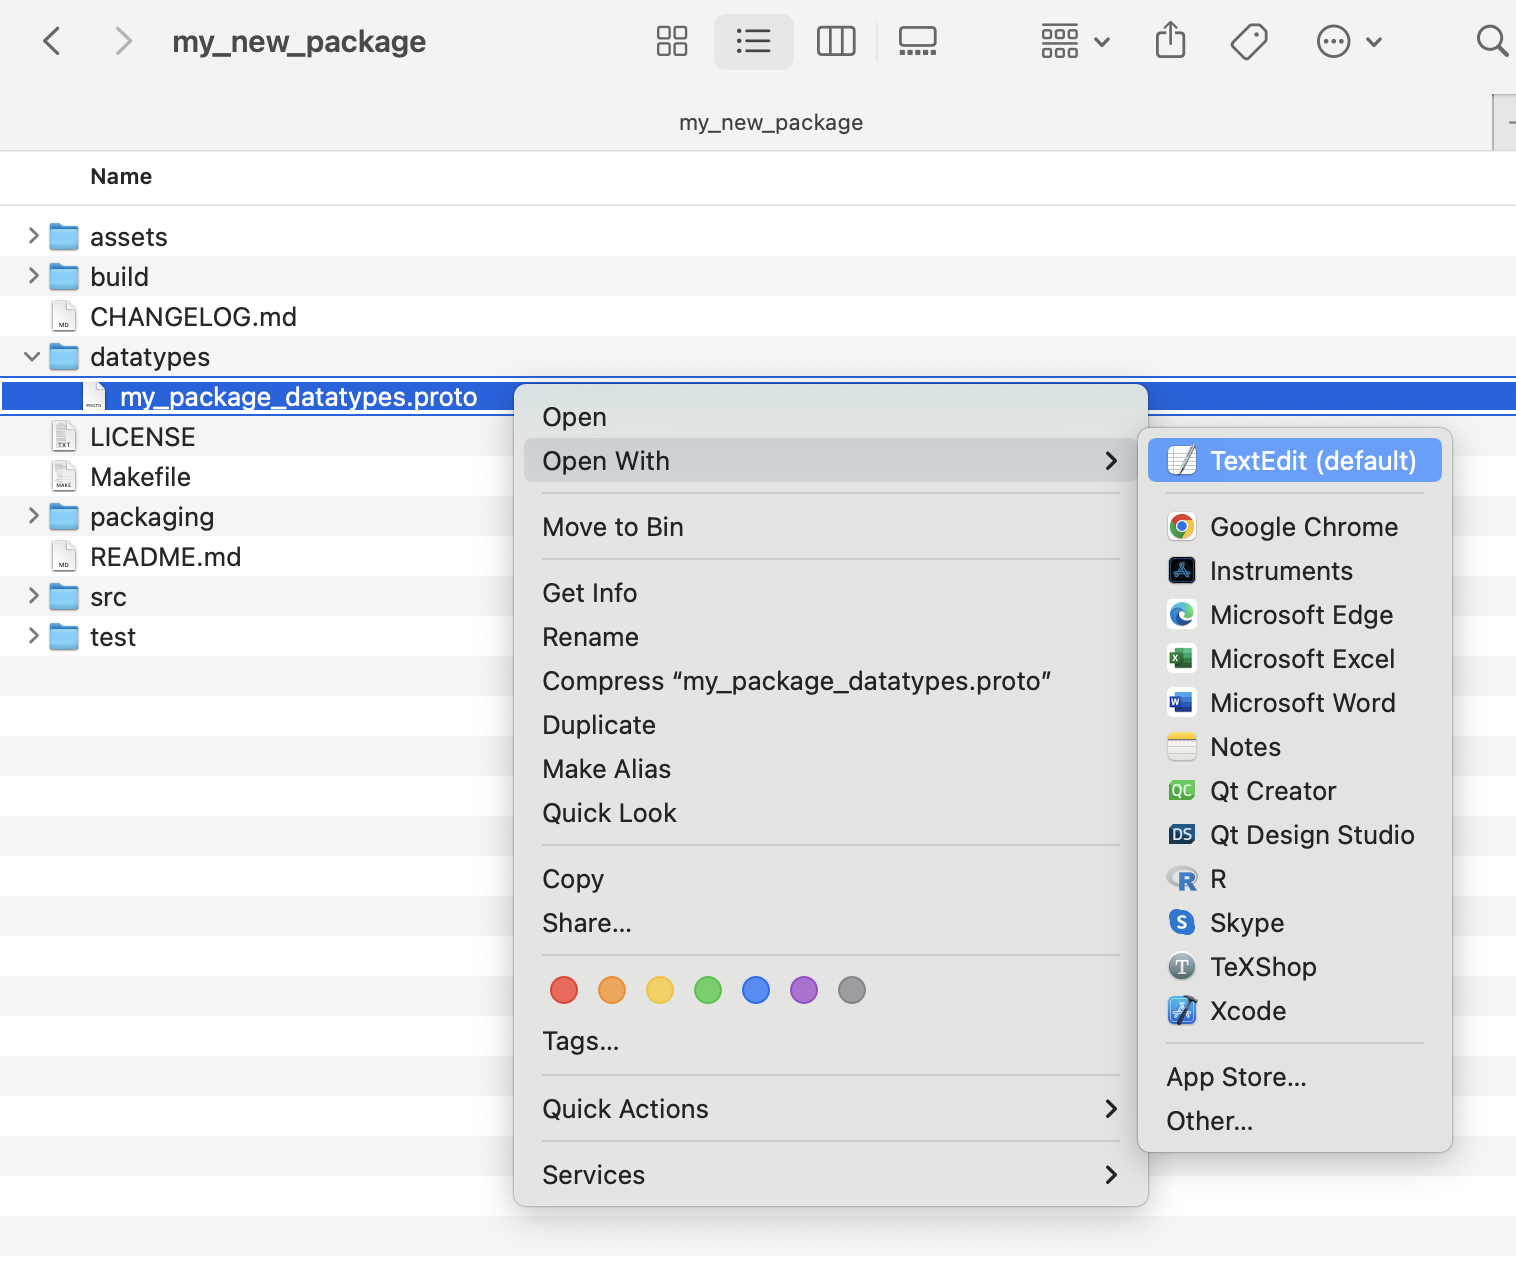
First, open the my_new_package.proto file from the datatypes folder:
Insert the following code to the file. This will add a new data type called "LocationSensorData", with three member variables called "altitude", "latitude" and "longitude", all of type double. Check out the protobuf language guide to find out which data types are available. You can also check the CLAID sensor data types for the definition of pre-defined data types in CLAID.
Your protobuf file should look as follows:

5. Gathering and publishing sensor data
Now that we have set up the basic implementation of our Module, requested necessary permissions and created a new data type, we can bring it all together and actually let our Module gather and output the location data. To do so, we use the Android Location API to register location updates, and post the new location to an output Channel. Other Modules, like the DataSaverModule, can then subscribe to this channel to use the location data.
Full code for the LocationSensorModule
The following shows the full code for the LocationSensorModule. It now includes the actual data collection
using the Android LocationAPI. We use the LocationManager to subscribe to location updates.
The updates are triggered either after some specified time frame, or when the user has moved some meters, which can be configured via the minTimeBetweenUpdatesMilliseconds and minDistanceBetweenUpdatesMeters properties respectively.
The complete code does the following:
- During initialization, the Module requests necessary permissions.
- Further, we load the properties for minimum time and distance for location updates from the configuration file.
- If permissions are granted and properties are valid, we create an outputChannel to which we will output the collected data.
- Finally, we use the LocationManager to register location updates. Whenever there is a new location update, we copy the relevant values of the location into a new instance of our LocationSensorData and post it to the output channel.
// Adjust this to your package namespace and package name.
package com.your_organization.some_claid_package;

import android.Manifest;
import android.annotation.SuppressLint;
import android.content.Context;
import android.location.Location;
import android.location.LocationListener;
import android.location.LocationManager;
import android.os.Looper;

import androidx.annotation.NonNull;

import adamma.c4dhi.claid.Module.Channel;
import adamma.c4dhi.claid.Module.Module;
import adamma.c4dhi.claid.Module.Properties;
import adamma.c4dhi.claid_platform_impl.CLAID;

// Our new LocationSensorModule inherits from CLAID.Module
public class LocationSensorModule extends Module
{
    LocationManager locationManager;
    LocationListener locationListener;
    long minTimeBetweenUpdatesMilliseconds;
    float minDistanceBetweenUpdatesMeters;

    // Last retrieved location data.
    LocationSensorData lastLocation = LocationSensorData.getDefaultInstance();
    // Output channel for the location data.
    Channel<LocationSensorData> outputChannel;


    @Override
    protected void initialize(Properties properties)
    {
        // This function is called when the Module is loaded in an App.
        // Blocks further execution until the user has granted or denied the permissions.
        if(!CLAID.requestPermissions(
                new String[]{Manifest.permission.ACCESS_COARSE_LOCATION,
                        Manifest.permission.ACCESS_FINE_LOCATION,
                        Manifest.permission.ACCESS_BACKGROUND_LOCATION},
                "This App requires permissions to use location sensors."))
        {
            CLAID.displayAlertDialog("Missing permissions", "\"Cannot use LocationSensorModule! Permissions denied\"");
            // Will terminate the App and throw an exception.
            moduleFatal("Unable to continue, location permissions denied!");
            return;
        }


        // Load properties from the configuration file.
        minTimeBetweenUpdatesMilliseconds =
                    properties.getNumberProperty("minTimeBetweenUpdatesMilliseconds", Long.class);

        minDistanceBetweenUpdatesMeters =
                properties.getNumberProperty("minDistanceBetweenUpdatesMeters", Float.class);

        // If there were missing properties, return an error.
        if(properties.wasAnyPropertyUnknown())
        {
            this.moduleFatal(properties.getMissingPropertiesErrorString());
            return;
        }

        // Set up the Channel for data output
        outputChannel = publish("LocationChannel", LocationSensorData.class);

        // If we have the required permissions and properties, we can start location updates:
        startLocationUpdates();
    }

    @Override
    protected void terminate()
    {
        stopLocationUpdates();
    }

    @SuppressLint("MissingPermission")
    private void startLocationUpdates()
    {
        this.locationManager =
                (LocationManager) CLAID.getContext().getSystemService(Context.LOCATION_SERVICE);

        this.locationListener = new LocationListener() {
            @Override
            public void onLocationChanged(@NonNull Location location) {
                // Create a new builder for LocationSensorData.
                LocationSensorData.Builder locationSample = LocationSensorData.newBuilder();
                // Set altitude, latitude and longitude.
                locationSample.setAltitude(location.getAltitude());
                locationSample.setLatitude(location.getLatitude());
                locationSample.setLongitude(location.getLongitude());

                // Store the new sample.
                lastLocation = locationSample.build();
                // Post the data to the output channel.
                outputChannel.post(lastLocation);
            }
        };

        // Start listening for location updates.
        locationManager.requestLocationUpdates(
                LocationManager.GPS_PROVIDER,
                minTimeBetweenUpdatesMilliseconds,
                minDistanceBetweenUpdatesMeters, locationListener, Looper.getMainLooper()
        );
    }

    private void stopLocationUpdates()
    {
        locationManager.removeUpdates(locationListener);
    }
}
Once you compiled and included the package in a CLAID App, you can update your CLAID config and include the Module as follows:
Loading the Module from a configuration
The following is an example configuration you can use to test out the new Module. Note, that you need to specify the output channel, as our LocationSensorModule has an output channel called "LocationChannel".
If you are interested in how you can now expand your own Module to include different functionality, check out the API reference below.
Further information on the Module API
Module functions
CLAID Modules typically can use the following functions:
abstract class Module
{
    // Called by CLAID when the Module is loaded, contains values for properties set in the designer or config file.
    void initialize(Properties properties)
    // Called by CLAID when the Module is unloaded (either when a new config is loaded or App terminates)
    void terminate()
    // Allows to publish Channels (output Channels)
    <T> Channel<T> publish(String channelName, Class<T> dataType)
    // Allows to subscribe Channels (input Channels)
    <T> Channel<T> subscribe(String channelName, Class<T> dataType, Consumer<T> callback)

    // Allows to register functions to be executed periodically in a certain interval.
    void registerPeriodicFunction(String functionName, Runnable function, Duration period)
    // Allows to register functions to be executed ONCE at an EXACT time.
    void registerScheduledFunction(String functionName, Runnable function, LocalDateTime dateTime)
    // Unregisters a previously registered periodic function
    void unregisterPeriodicFunction(String functionName)
    // Unregisters a previously registered scheduled function
    void unregisterScheduledFunction(String functionName)

    // Tells the CLAID middleware that a fatal error occured and that the execution of the App cannot continue.
    void moduleFatal(String msg)
    // Tell sthe CLAID middleware that an error occured. The Module will be suspended, other Modules will continue to work.
    void moduleError(String msg)
    // Tells the CLAID middleware that an error occured. All Modules will continue to run.
    void moduleWarning(String msg)
    // To print information and debug messages.
    void moduleInfo(String msg)

}
Properties
As you can see from the code above, our Module can define properties. These properties can be set when we load
the Module from a configuration file. You can use any protobuf data type as Module properties, i.e.,
either native protobuf types or custom defined data types from the current or other CLAID packages.
public class Properties
{
    // Get a number property (short, int, long, float, double) from the configuration file.
    // Need to specify concrete type as parameter, e.g.:
    // Integer myVal = getNumberProperty("some_int_property", Integer.class);
    public <T> T getNumberProperty(String key, Class<T> dataType)
    // Get a string property.
    public String getStringProperty(String key)
    // Get a boolean property.
    public boolean getBoolProperty(String key)
    // Get an object property. Object can be any protobuf data type from CLAID or a package.
    // Need to specify concrete type as parameter, e.g.:
    // NumberMap numberMap = getObjectProperty("some_number_map_property", NumberMap.class)
    public <T extends Message> T getObjectProperty(String key, Class<T> dataType)
}